Developing on a local environment is the most common way of building web applications, because it’s a lot faster, easier and fun than on a remote server like back in old days. With code versioning like git or mercurial, it makes even more better way of developing websites when you’re in a team of developers or coding only by yourself. In this tutorial I will lay down some tips on wamp optimization for better performance. Some, if not all of the tips, will be suitable for other local environments like XAMPP or MAMP. So let’s get started!
Windows OS Side
This section contains tips which could to be done on Windows operations system layer:
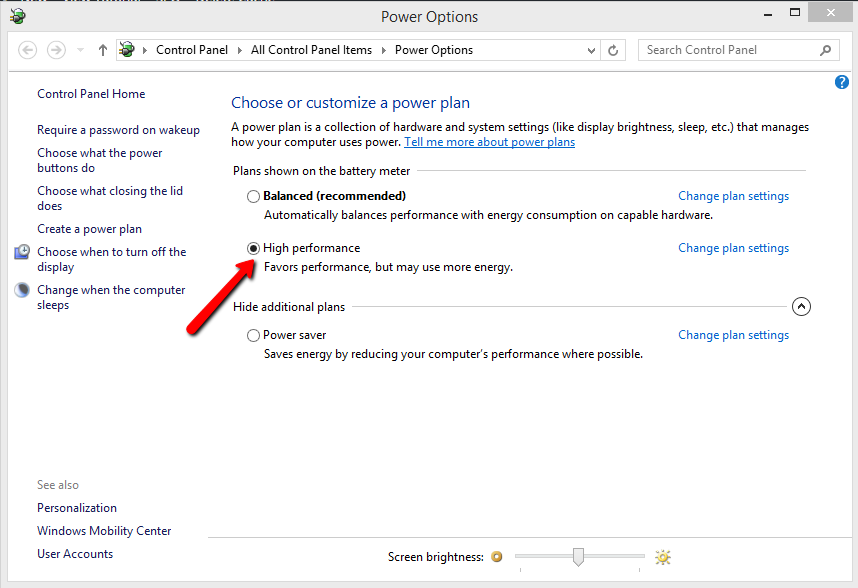
Changing Power Plan
If you did not take into consideration of changing your power plan to high performance, then congratulations, only this move will make your development faster by 50%. I myself sometimes forget that my power plan was set on balanced or power saver when I needed to save some of battery life, and was wondering why the heck my computer is so slow. After checking for windows updates or antivirus updates and looking at task manager to find out what processes drains the performance, I remember that I have to switch my power plan.
Disabling Antivirus
While not the best and secure way when optimizing local environment, disabling antivirus when developing can help. Some antivirus softwares are known to significantly slow down Apache and MySQL, like Avast, Norton, McAfee, Bit Defender.
Edit Windows Hosts File
If you have setted up virtual hosting for your applications, you probably have written the local domain which is pointing to that virtual host in windows hosts file. If you have not written local domains to the windows hosts file yet, follow up to know what I’m talking about:
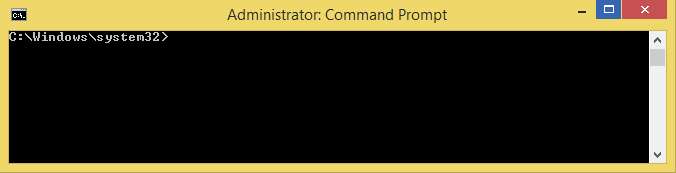
Press the Windows key and type cmd. Right click on cmd and choose Run as administrator (In order to be able to save changes to the windows system files).
Locate to cd drivers/etc/:
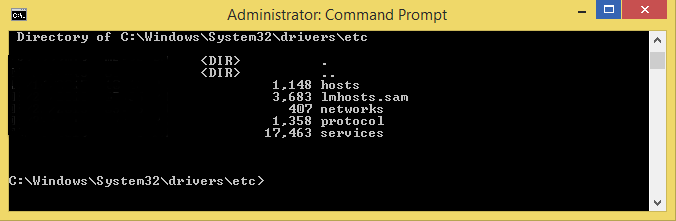
Here you can see hosts file. Let’s open it with notepad, by typing notepad hosts.
You probably have written those domains line by line. So the trick is to write all domains on one line, like this:
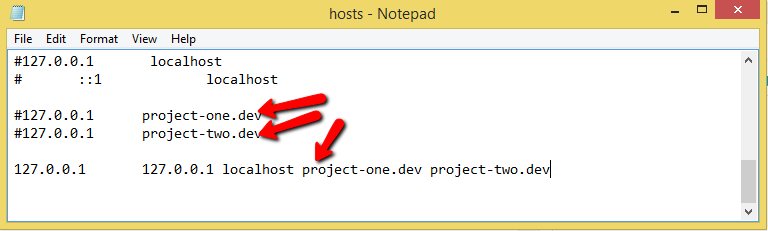
As you see, I also added 127.0.0.1 and localhost in front of my projects domains, which might help to improve lookup.
WAMP Side
Now the real optimization of WAMP development environment begins. I listed tips that helped me the most:
Changing realpath_cache_size
This was the best leap of performance to me. Let’s open php.ini settings file by browsing to wamp/bin/php/php5.*.*(whatever version you have)/ and opening phpForApache.ini file. Or alternatively, clicking on green WAMP icon in your windows bottom tool bar, PHP->php.ini. Find realpath_cache_size line, and change the default value which is 16K to 4M or lower.

Now 4M I noticed is the size that works best for my PC. I saw people saying that this value should not be more than 512K, and I think this is true if your PC has lower than 2GB of RAM or something. You can change and see which size would be best for you, but I recommend not setting higher than 4M.
Disable XDebug
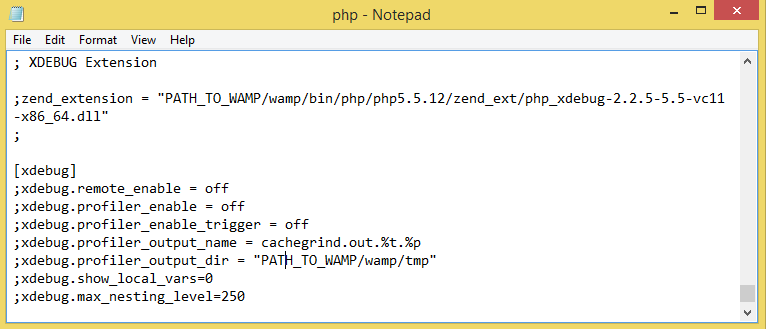
If you are sure that you’re not using XDebug, then it can make your WAMP 2x faster. You can disable it in the same php.ini file, by commenting out XDebug section with adding ; on the beginning of each xdebug line. This is how look like commented XDebug section in my php.ini:
Make MySQL Not Use IPv6
IPv6 briefly is the most recent version of the Internet Protocol. Making MySQL not to use IPv6 can make serious speed improvements. To disable it for MySQL, browse to wamp/bin/mysql/mysql*.*.*(whatever version you use)/ and open my.ini. Or again, alternatively you can click on wamp green icon in windows bottom tool bar, and navigate to MySQL->my.ini. Find [wampmysqld] section, and write bind-address = :: on a new line.

If it did not help, you can try disabling IPv6 entirely. Here is a great blog post on how to do it.
Install And Enable PHP WinCache Extension
This extension is windows-specifically. It provides some great caching layers to the wamp. By default, it is not provided in WAMP installations, so follow these steps to install and enable it:
- Head to WinCache download page and download package specifically for you PHP version.
- Unpack the package and copy php_wincache.dll file into PHP extensions directory wamp/bin/php/php*.*.*(whatever version you use)/ext/.
- Add the following line in the end of php.ini file: extension = php_wincache.dll
- Save and close php.ini file.
- Restart WAMP.
To see if it is enabled successfully, you can create phpinfo.php file in the root of web directory of WAMP, which is wamp/www/, and write these lines of code:
<?php
phpinfo();
?>
Head over to http://localhost/phpinfo.php, and search for a section called wincache. If the extension is enabled, then list of configuration settings will be provided by the WinCache.
After all changes are done, don’t forget to restart WAMP if you haven’t, by clicking on WAMP green icon and selecting Restart All Services.
So that’s it, these tips helped me to improve drastically my local development environment performance, and I hope it will help you too. If you have other great tips that helped you and which I did not include here, let me know in the comment sections below!
Obrigado!! Realmente deu uma melhorada na performance aqui!!
I’ve been trying to solve this for hours. Your bind-address did the trick for me. Thanks.
Many thanks, great efforts
Major thankies for the post. Really looking forward to read more. Really Great.
Fantastic pointers, still valid in almost 2021 with PHP 7.4.9 and MySQL 5.7
Thank you so much
Great !!!
A question: WinCache Extension is only available for PHP 7.1 and minors. I use 7.3, Can i install too?
Thank you so much
the latest version is for php 7.0 or higher, so you can use it for php 7.3
You just saved me hours of work.
page needs to be update to new sourceforge link, looks like great project, thanks.